

Create a Store from a Theme
Everything you need to begin with Orderain, from signing up to launching your store for the first time. This guide follows the Start with a theme path.
Before you start
You'll need:
- A valid email address (used to sign in and receive store notifications)
- A store name idea. This becomes your free
yourname.orderain.comaddress - The product category you sell (you can fine-tune everything later)
Step 1: Create your account
Go to app.orderain.com and open the
sign-up page (/auth/signup). On the Create Your Account For Free
screen you can register two ways:
Sign up with email
Enter your Email address and click Get started.
Or use a social provider
Click Continue with Google, Continue with Facebook, or Continue with Apple to register with an existing account, with no password to remember.
/auth/login) and sign in with
your email + password, or the same social providers. Forgot your password? Use
the Forgot Password link on the login screen.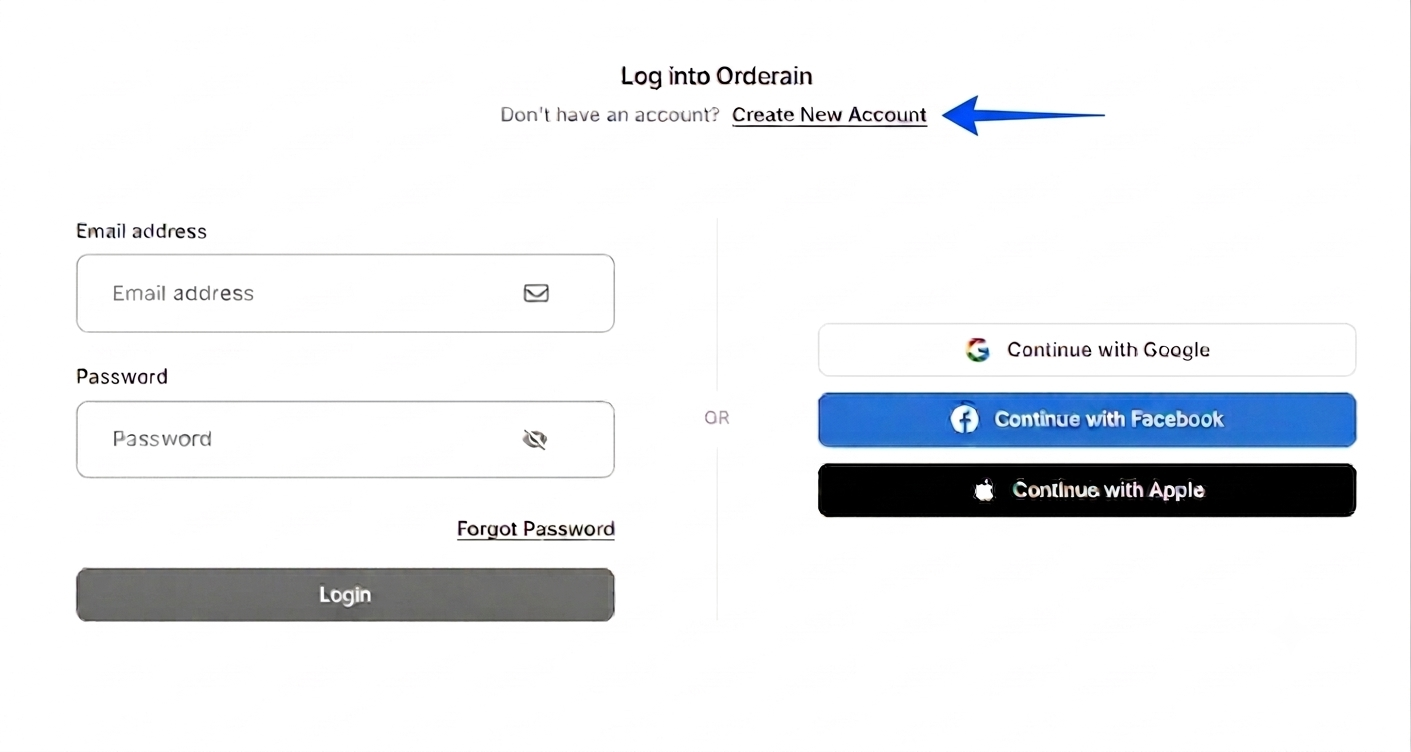
On the login screen you can sign in with your email and password, continue with Google, Facebook, or Apple, or click Create New Account if you don't have one yet.
Once your account is created, Orderain takes you to the onboarding flow.
Step 2: Choose how to start
On the Welcome screen, Orderain offers two ways to create your first shop:
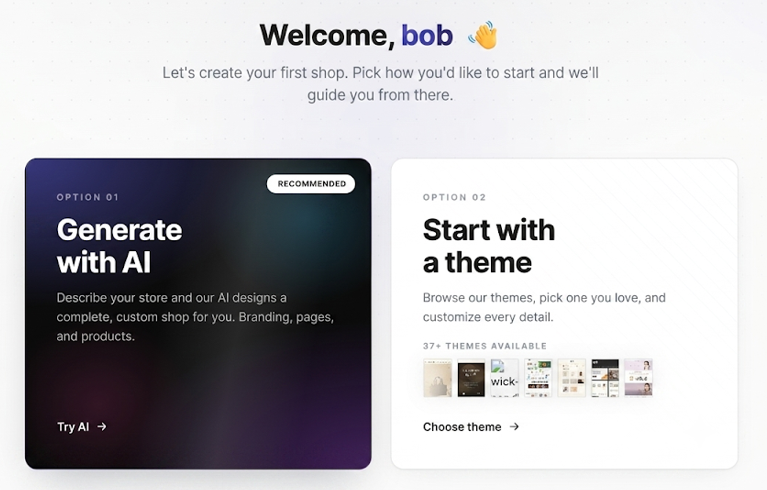
Generate with AI
Start with a theme
For the AI path, follow Create a Store with AI (Buddy). To continue with a theme, click Choose theme and read on.
Step 3: Tell Orderain what you sell
On the What do you sell? screen, pick the category that best fits your store. Orderain tailors the layout, colors, and starter products to match.
Categories include Hardware, Eye Wear, Kids Clothing, Pet Supplies, Jewelry & Watches, Beauty & Cosmetics, Electronics, and more.
Select your category (for this guide: Eye Wear) and click Continue.
Step 4: Pick your theme
The Pick your theme gallery shows every available starting point. Use the controls to narrow it down:
Filter by price
Toggle between All, Free, Paid, and Purchased.
Filter by category
Use the category dropdown (e.g. Eye Wear) to see themes suited to your store.
Search
Type in the Search themes… box to find a theme by name.
Preview
Hover a theme and click View theme to see it full-size before committing.
Select a theme (for this guide: Carved) and click Continue.
Step 5: Review your site pages
The Here's your site pages screen previews the pages your chosen theme includes, such as the homepage, product pages, and more. The Carved theme, for example, ships with 10 pages.
Review the layout, then click Continue.
Step 6: Name your store
On Name your store, enter a Site Name. Orderain instantly claims a matching free subdomain and checks availability as you type:
helloeyewear → helloeyewear.orderain.com
When you see "…orderain.com is yours. Nice and memorable.", click Continue.
.orderain.com subdomain works immediately.Step 7: Set your store currency
On Set your store currency, pick the currency you'll sell in. Common options (USD, EUR, GBP, CAD, AUD, JPY, PKR, INR…) are shown first. Click Load more for the full list.
Select your currency (for this guide: USD) and click Continue.
Step 8: Review and launch
The store review screen summarizes everything you configured:
| Item | Example |
|---|---|
| Category chosen | Eye Wear |
| Theme selected | Carved |
| Pages chosen | 10 pages |
| Name claimed | helloeyewear.orderain.com |
| Currency set | USD |
Each row has an Edit link if you want to change something. When you're happy, click Continue to move to plan selection, then Launch your store.
What's next?
Your store is live 🎉 From here you can: